The Ultimate Guide to Making Dice at Home
September 28, 2020 · 22 min read
Do you want to make your own dice? Are you looking for a complete guide to the fine craft of dice making? Then look no further, because we have put together the Ultimate Guide to Making Dice at Home!
And yes, I know there are several other awesome resources out there, and this guide wouldn't be possible without them. But I wanted to write a guide detailing our own dice-making process, along with a comprehensive shopping list of everything you'll need.
So, whether you have just started making your own dice or are beginning to entertain the idea, I hope this guide helps you on your journey to becoming a Dice Smith. And for those of you who have been at it for a while, I'd love to keep improving it as I learn more.
Safety first!
Before starting down the road of making dice, there is one very important thing you need to remember: SAFETY FIRST!
Making dice involves several chemicals and processes that could cause long-lasting health complications for you and those around you. So, it is very important to understand what you are working with by reading the manufacturer's warnings and following them.
Personally, I always wear gloves and a respirator, and work in a well-ventilated room, whenever I'm working with any of the chemicals or sanding.
Where to start
Making handcrafted dice at home is a satisfying DIY project that is always a lot of fun. Most of us think that it's going to be hard, but actually, it's not. What used to be a closely guarded secret is now more common, thanks to informational videos on YouTube. But in this guide, you'll get to learn how to make dice molds by yourself. To get you started here's some background info that I want to share with you.
Premade dice molds and where to get them
Thanks to the internet, finding gaming dice is easier than ever. In the good old days, you needed to go to a gaming store where dice were sold. Back in my days, role play dice games such as D&D and Gamma World could be found in specialty shops only. But over the years, toy stores and specialty gaming shops made RPGs and gaming dice easier to find.
Now it's even easier to look up RPG dice on Wish or Amazon and find complete sets that are sold. You can also find very nice reproductions of vintage dice on eBay and through RPG gaming forum classifieds. I find that a decent search on Amazon gives you the best variety of premade dice at affordable costs. Like Amazon's best-selling RPG dice.
You must have at least a couple sets (if not more) so you can start making your own. One trick I found is to ask to borrow a set (or two) from your friends and make copies (just get permission before copying anyone else's original design). This keeps costs down for buying a new set and saves you more money for casting and molding materials. We'll get into that aspect in a little bit, as well as info that many tutorial videos never tell you. Let's get started!
Making your own dice molds
One thing I can tell you from experience is Safety First! You'll be learning about materials that are still considered 'Industry Grade' that are being marketed to the DIY crafters now. The safety reason is that many of these materials are skin irritants. They'll need mixing and you want to keep them off your bare skin. But there are other concerns since the silicone that you'll be using is sensitive to certain inhibitors.
There's also working around sharp items like X-Acto blades and solvents that you need to be careful working with. But to be honest, all DIY projects require a certain amount of material safety so you don't get hurt. I've had cleaning solvent splashed in my eye that was no picnic, so remember kids- Safety First. It also pays to have a decent pair of safety glasses if you're doing any kind of polishing or mixing of resins that have a low viscosity.
There is also the terminology that goes with these materials that I'll do my best to explain. Here is a quick checklist of words that you'll need to know more about:
Cap mold. This is also called a two-part mold since there's a top 'cap' that sits on top of a silicone mold.
Hanging mold. This is a casting technique that's a time-saver when molding homemade dice at home. A die is hung from a fixed point inside a cup or molding container and silicone is poured around it.
Squish mold. This is a cap mold that's filled through its open cavities, then the cap is pressed ("squished") into place, pushing the excess resin out around the seam. You'll see the term a lot in other tutorials; in this guide, we mostly use hanging molds poured in a Dixie cup, which you fill through a sprue instead.
Sprue. This is a support stick that's attached to a die that makes it possible to pour or inject liquid resin later. It also makes it easier to hang a die attached to a pop stick when you are molding with silicone.
Vent. These are holes that are air vents (like chimneys) that let out escaping air when pouring resin into a mold. These are usually added after a silicone mold is cured.
Flashing. These are thin flimsy edges of a finished cast piece that are left-over resin that leaked out. Dice that are made inside a cup need one side sliced open, so the hard dice comes out easier. It can also show up on the edge of a cap mold. These are cut off using an X-Acto.
Jeweler's cut. This is a method to cut silicone so the cut line is a zigzag shape instead of a straight line. The inside and outside of the mold have a straight line cut first. The space between these two straight lines should have a zigzag shape (forming little keys) keeping flash lines reduced.
Mold key. Any kind of cap mold needs to have keys so that the second half of the silicone locks in place. These keys are made from little balls of Super Sculpey that are cut in half. The silicone can also be 'cut into,' forming keys once the first half is cured.
Pressure pot. This is usually a modified paint pressure tank, rated for the pressure you'll use, with a lid that can be locked onto the top and a safety relief valve. (Don't use a kitchen pressure cooker; it isn't built for this.) There's a pressure gauge that's attached to the top so you can see the pressure level. There is also a quick disconnect fitting so compressed air can be connected. Here is a good example of how to make one from a paint tank.
Vacuum chamber. This is a special chamber that has an evacuator vacuum that sucks out the air inside the chamber. The evacuator is the same kind that refrigerator and air conditioner repair people use. You can also buy a ready-made vacuum chamber.
Buffer wheel. This is also called a polishing wheel to polish your cured resin pieces. There are many versions, but the kind that's attached to a tabletop works better than a handheld polishing wheel. Here's a nice benchtop example.
How to get your own dice masters
If you're new to the game but want to start making your own dice, you'll need a dice collection. This collection is called a 'master' because it's usually the original dice. Even if you don't have an original set of master dice, there are plenty of dice sets that you can buy or borrow. In my business, it was always a matter of using the BBS system. This is an abbreviation for Beg, Borrow, or Steal -but seldom did we ever actually steal anything...
Anything that was temporarily borrowed was always returned, as soon as the silicone was cured. You can always ask friends or those who are into RPG gaming to lend their dice for a weekend. If they're hesitant, you can always buy your own that are sold in specialty game shops. I've had friends who felt their dice were sacred, so getting them to lend them was pretty hard. Unless they had some incentive, like having a duplicate set made for free...
3D printing your own dice masters
If you could have seen how they were 3D printing in the early 90s, you'd need to hold your nose. The resin used back then was a photosensitive polyester resin (think about fiberglass resin) that was cured with a laser. Nowadays, the resin is much more advanced and a lot more accurate. You can set up a 3D printer at home and produce very accurate dice masters from online software. They'll still need cleaning, a full cure, and some sanding, and a print that isn't fully cured can stop platinum silicone from setting against it.
They even have dice making patterns that are ready to be downloaded. The nice part is they even have dice sprue that you can print-out too! Check these out:
All of these are free downloads that can make use of your 3D printer. Once you have your master dice made, you can then start making copies right away.
How to make your own dice molds
Now comes the fun part since making a mold of your master dice is a rewarding process. You'll need to follow each step that helps make your mold easier. I'll add little tips that you won't hear anywhere else that keep your mold cleaner and usable for years. The biggest step to making dice is always going to cost money. Silicone rubber isn't cheap, that's the bottom line. Then again, if you're going the cheap route you'll find that molds won't last for very long.
In reality, you don't need a vacuum chamber unless you want 100% bubble-free molds. Mixing silicone can have trapped air just as casting resin can have bubbles too. This is why a pressure pot reduces bubbles. Used in combination, a vacuum chamber and pressure pot for casting clear resin make incredible results. If you want to sell your dice later, it's the little details that count for quality.
Preparation
You want to buy latex-free rubber gloves, so always use black Nitrile powder-free gloves. You see a lot of tattoo artists wearing these and are also for medical examinations. These don't have natural latex or talc that can inhibit the cure of silicone rubber. You can get a box for about 20 bucks but some places sell them cheaper. Swap in a fresh pair whenever they get resin on them or tear; disposable gloves aren't meant to be reused.
You'll also need Dixie cups that are used to cast your homemade dice. These should be at least 3-4x the size of your master dice. Either the paper or plastic cups are good depending on your preference. A sleeve of these cups is enough to last you a while to make the silicone molds. You'll also need these items:
- Disposable popsicle sticks (also called tongue depressors)
- Paper towels (buy a big 6-pack at a bargain price)
- A digital scale (one that has a tare button and measures in grams)
- Hot glue gun with glue sticks
- Alcohol ink (used for coloring casting resins)
- A set of metallic transfer foil (for flake effects and is better than glitter)
- A set of liquid acrylic colors (metallic, glitter, iridescent, or your preference)
- Small artist brushes (a good set used for painting small detail into dice numbers & symbols)
- A good X-Acto kit (one that has assorted blades and handles)
- A pair of flat end flush-cutters (for cutting away flashing and sprue ends)
- A set of sandpaper emery boards (100-180 grit)
- A set of wet grit sanding paper (an assortment that includes 500, 1500, and 3000 grit)
- Disposable plastic transfer pipettes (that are used to suck up and inject epoxy)
- Disposable plastic syringes (can be used alternatively to pipettes to inject epoxy)
What type of molds to make
There are only a couple methods that work best for how to make dice molds. You want to use silicone that's best for casting two-part resin. I recommend using a platinum cure silicone. Smooth-On offers the best choice, and Brick in the Yard is a good alternative. Here are the top choices for dice-making molds:
These are both rated at a hardness of Shore 40, which means it's firm enough to keep its shape. This feels about the same as a pencil eraser but is very tough at not deforming at all. It's also ideal because you can see through the rubber. Now it's possible to see where you're cutting into the rubber. You can also see where color is going into the mold, which is a big plus too.
If you decide to make cast parts using UV activated resin, your clear molds can allow UV light to cure a dice inside a mold. This is becoming more popular, though UV resin isn't automatically safer than a 2-part casting resin, so the same gloves and ventilation rules apply. Then again, you risk getting bubbles inside a UV resin piece if you aren't careful. The UV resin is much thicker and similar to optically-clear tree sap. And for this method, you would need to have a UV box to cure the UV resin correctly.
Mold prep for a hanging mold. First, you'll need to look for a spot on the dice where you can glue sprue to a flat surface. It should be in a spot that can be sanded smooth later after you have a cast resin piece. Look at your Dixie cup and eyeball where the dice should go. The length from the top of the dice to the cup brim is the length of your sprue. The dice should sit at least in the center of the cup for the cup size you use. Remember to have a cup that's 3x larger than your handcrafted dice.
Cut-off a section of pipette that forms the sprue, with the smaller tip pointing to the dice. You now add a dab of hot glue onto the section where you'll glue the pointy end of the pipette. Let it cool down so the two stick together properly. Now you can take a pop stick and cut it in half (use the other half later) and add some hot glue to the center of the pop stick. You can now take the thicker end and lay that onto the hot glue until it cools down.
Your die is now attached to the pop stick by the pipette sprue. It should be easy to hang your dice upside down into the cup. The pop stick will sit over the edges of the cup. You can also see how the dice sits in the middle of the cup after that. To make your sprue more effective, use a small rolled snake of Super Sculpey at the base of the pipette. This helps to smooth-out the blob of hot glue but also makes a wider pouring spout for the resin.
You can do this for several dice or just a few at a time. Pouring a whole set at one time makes better sense since your batch of mixed silicone will all be uniform.
Mold prep for a cap mold. For this, you need to find a suitable box shape that all your dice can fit into. I like using a rectangle-shaped Tupperware container since the bottom edges are slightly rounded. You need to put a very small amount of Super Sculpey onto one side of each die. This helps to stick the dice to the Tupperware better. Give some space between the dice to put your keys. These are much better if you use adhesive plastic bumper buttons.
The variety of shapes makes a great key that can be reused if you're careful. They stick like crazy to Tupperware and nearly any surface. Square shapes work great because they key-in better than rounded keys. Don't use silicone bumper pads because they'll stick to your silicone. Use at least 6- 8 keys wherever they can be placed at the bottom of the Tupperware. Now it's time to pour your silicone.
Mixing and pouring the silicone
Here's where things get fun. Depending on the brand of Platinum silicone you use, each has a different mixing ratio.
- Smooth-On Sorta-Clear is 100 parts A to 10 parts B, so it's 100:10 by weight.
- Polytek PlatSil 71-40 is 100 parts B to 10 parts A, so this is also 100:10 by weight (always double-check the label on your containers).
So now you have to wonder how much to mix? Well, that's as easy as it gets. Before you start, you'll take your dice and put them in. Pour water until it covers the dice by 1 inch if you're using the Tupperware as a cap mold. Find a paper cup that holds that much water with at least half the cup left empty. Any decent Big Gulp cup from 7-Eleven is going to work for you. In reality, you'll need approximately 500 grams of mixed silicone for the first half of the cap mold.
The Big Gulp cup should be the 64oz size, and I'll tell you why. If you're going to do any degassing in the vacuum chamber, you need room for the expanding silicone. As the silicone degasses, it lets out all the air until it's under a near-vacuum. Just like outer space, this gets out all the air and makes your silicone last longer over the years. But first, you still have to mix the ratio.
Place the Big Gulp cup on the digital scale set to grams and tare it so it reads zero. Then pour in part A of your silicone; about 500 grams works for most cap molds, or weigh the water you measured earlier for an exact amount. At a 100:10 ratio, you'll then need 10% of that weight in catalyst, so 50 grams for 500 grams of silicone. Weigh the catalyst into a separate Dixie cup.
Then pour the 50 grams into the Big Gulp cup using a pop stick to scrape-out any left-over catalyst. Now you use a bigger stick such as a paint stick or anything strong enough to mix your silicone. Be sure to scrape the sides and at the bottom of the cup. Mix well for at least 3 minutes. Then place this cup inside the vacuum chamber and start the vacuum, making sure you close all your air valves.
You can watch the silicone start to rise like a bubbling witch's brew. Keep your hand on the air release valve if it starts to rise too high. Or watch this video on degassing silicone.
After it's totally degassed, it's ready to be poured over your dice. Pick a corner that you like and start to pour a steady stream of silicone. Not all at once but like pouring in slow motion. This reduces any chances of bubbles forming on your dice. Continue until your dice are covered by an inch or so. If you have any leftover, it can be poured into another container that is waiting for silicone.
This method is repeated for the hanging molds since the amount of silicone is roughly the same amount in grams. Then again, you'll be measuring these by yourself; so you will learn exactly how much you need.
After curing
The curing of these silicones can take up to 12 hours or more depending on the warmth of the room. In my experience, fast-cure silicones don't last as long, so I prefer a slower cure, but check the manufacturer's demold time for your product. To open your cap mold you'll need to carefully separate the silicone from the sides. Dig your fingers into the sides and slide pop sticks in, to help slide it out. It will eventually slide out using the pop sticks as leverage.
Now you can carefully trim the top of the silicone that sat upright. Use scissors to clean it up and remove any excess side splash. Using an X-Acto blade you can carefully trim away any silicone that seeped under the dice. Do this for each dice and also for any keys that didn't sit down properly. Now you need to build a retaining wall for your second cap. This is the top half that covers the bottom of the dice.
The easiest in my opinion is to slide the silicone back into the Tupperware container. If the walls of the container are straight, this works fine. You will need to add some Super Sculpey on the top edge where it's rounded. Form some Sculpey snakes to fill in that gap and smooth it out using a little Isopropyl alcohol. That gap around the top edge should now be filled. Now you need to add a release for the second half of that mold.
Making a silicone mold release. Get a bar of ordinary Ivory soap and a cheese grater. Start to grate the soap into a bowl just like shredded cheese. Grab an old pickle or jelly jar that has a lid and put the soap shavings inside. Then pour water inside up to the top. Just half of the soap is good for one jar. Then take that and put it into the microwave for a minute. You want to melt the soap shavings until it looks like clear snot. The jar will be hot, so be careful when giving it a mix.
You then paint this onto the silicone surface using a soft half-inch-wide paintbrush. To pop any bubbles, use a blow dryer on low to kill off the bubbles from the soap. You can do this twice in a row to build up a very nice mold release. Test it on a scrap of cured silicone first; if the release fails, the second pour will bond to the first. Other people recommend Vaseline, but I don't, since it creates gaps that can allow flashing to form with the resin. Ivory soap is more eco-friendly and washes off easily. Vaseline just builds up and leaves a residue that's terrible for casting resin.
You'll need only one-third of the amount this time to cap-it off, so mix your silicone according to that ratio. Repeat the same steps for mixing and using the vacuum chamber. Then pour it in the same way you did before.
Demolding hanging molds. For your hanging molds, you simply start to open up the cup by tearing it off slowly. The paper tears easier than plastic, so use caution when cutting the rim of the cup. You'll see the sprue inside the silicone and likely be able to pop it off. Then take your X-Acto and slice a shallow straight line from the top down to nearly-halfway of your dice. Use the edge of a table to open that slice mark.
This is how you can make small zigzag cuts using your blade. Like a zipper, these act like a key that helps the mold line up better when it goes back into a Dixie cup. You have to be careful when cutting, but you can see how close you are to your dice. When you reach the closest edge of the dice you can cut a nice straight line. This should be at least 1 millimeter if you can be careful enough. It does take practice but it works a lot better.
Now you can remove your master dice from the mold and it can slip right back into a Dixie cup. Aside from trimming the top lip edge, there should be little or no clean-up needed. Now you can do this to all your hanging molds.
Demolding your cap mold. After the silicone has cured for a day you can open it up. The dice should pop right out without any trouble. The top cap also will peel right off and you can cut away any spots that have flashings on the edges. They can be washed under water to get the soap off too since it washes away with no residue. Now you can use a little isopropyl alcohol to clean off any Sculpey that was on the edges. The finished mold should fit back together easily.
Adding vents to your cap. This is an optional bonus but it works so well for casting resin. You need to have brass tubing for this that's no thicker than your pipette tip. It also needs sharpening on the outside edges using some sandpaper. What you're going to do is make an air vent through the top of the dice. Flip over the top of your cap mold so you can see each die's top. Put it onto a piece of thick cardboard so the brass rod can go through your silicone easier.
Then use a little ivory soap release on the brass rod and slice it through the silicone. Make sure it's in a spot that can be sanded later. Where the hole appears on the cap lid, you can use the X-Acto blade to cut-out a little funnel. Now you can have expert dice making casts with no air bubbles.
Making the resin dice
Measure your resin by the ratio on its label; most dice resins are 1:1. They can be measured in equal parts in the Dixie cups and then poured into a bigger cup for pouring. Once you've settled on a resin, you'll always use that ratio.
Preparation
If you have hanging molds or the cap mold ready for pouring, then you need to have mixing cups ready. Use pop sticks to mix the resin as well. Always use your Nitrile gloves since the resin is a skin irritant. Use safety glasses to reduce the chance of anything splashing in your eyes. You can also cover your gram scale with cling wrap so there's no messy scale afterward.
Mixing the resin
Always tare off the weight of your Dixie cups before pouring the 2 parts of the resin into them. Do these separately so they are equal. The third cup should be big enough to hold equal parts of the resin in one cup. If you're putting them into the vacuum chamber they should always be 1/3 full of the actual cup size. This is so the resin can rise and get out the bubbles without spilling-over.
Adding things to the dice
Your resin can have an alcohol ink or foil transfer film. The foil is the same stuff that's used for a gold leaf so it's very thin. It breaks down into tiny bits the more you mix it, so it's up to your preference when mixing it into the resin. Any coloring used can be mixed to create various color effects. Mix various batches to make stunning color combinations using a syringe or the pipette tubes.
When putting the top of a cap mold back on, don't add resin up to the very top of the first side. Place the second cap back-on-top and then slowly pour the resin into the top funnels. Gravity will help the resin fill the mold all the way to the top of the dice. When you put it inside the pressure chamber, any bubbles will be reduced to nothing. But make sure the top funnels are totally full.
For the hanging molds, you pour the resin into the funnel until it doesn't take in any more. After a couple of minutes, you'll see if any air bubbles are coming out. The little funnel at the top acts like a reservoir to refill anything not filled.
Let them cure
Put the molds carefully into the pressure chamber and close the lid. You might need to stack your molds so build little tables inside so these molds can be stacked. A round piece of wood with legs on the sides is enough. Just make sure the legs have enough room over each layer of dice molds so they aren't so cramped. Close the lid and tighten the screw fittings that keep the lid secure. Then you attach a compressed air hose that has a regulator on it.
This allows the pressure to remain constant and isn't over pressurizing your resin. You need at least 60PSI for bubble-free castings, but never go above your pot's rated pressure. You can even use an air-compressor tank that's been pressurized beforehand. You won't have any noise while your resin cures. This will take at least 12-24 hours before you can de-mold your dice. A pro tip I learned is to keep the room warm, around 75-80°F, for the resin to cure better.
Demold your dice
After waiting overnight for the pressure chamber you can open it up and see the results. You'll no doubt see that the reservoir has sunken a little bit. The cast resin will appear crystal clear and totally hard. Now you can de-mold these pieces one by one. Take your flush-end cutters and snip-off the excess sprues. These can be sanded down further using the emery boards and then the wet-dry sandpaper.
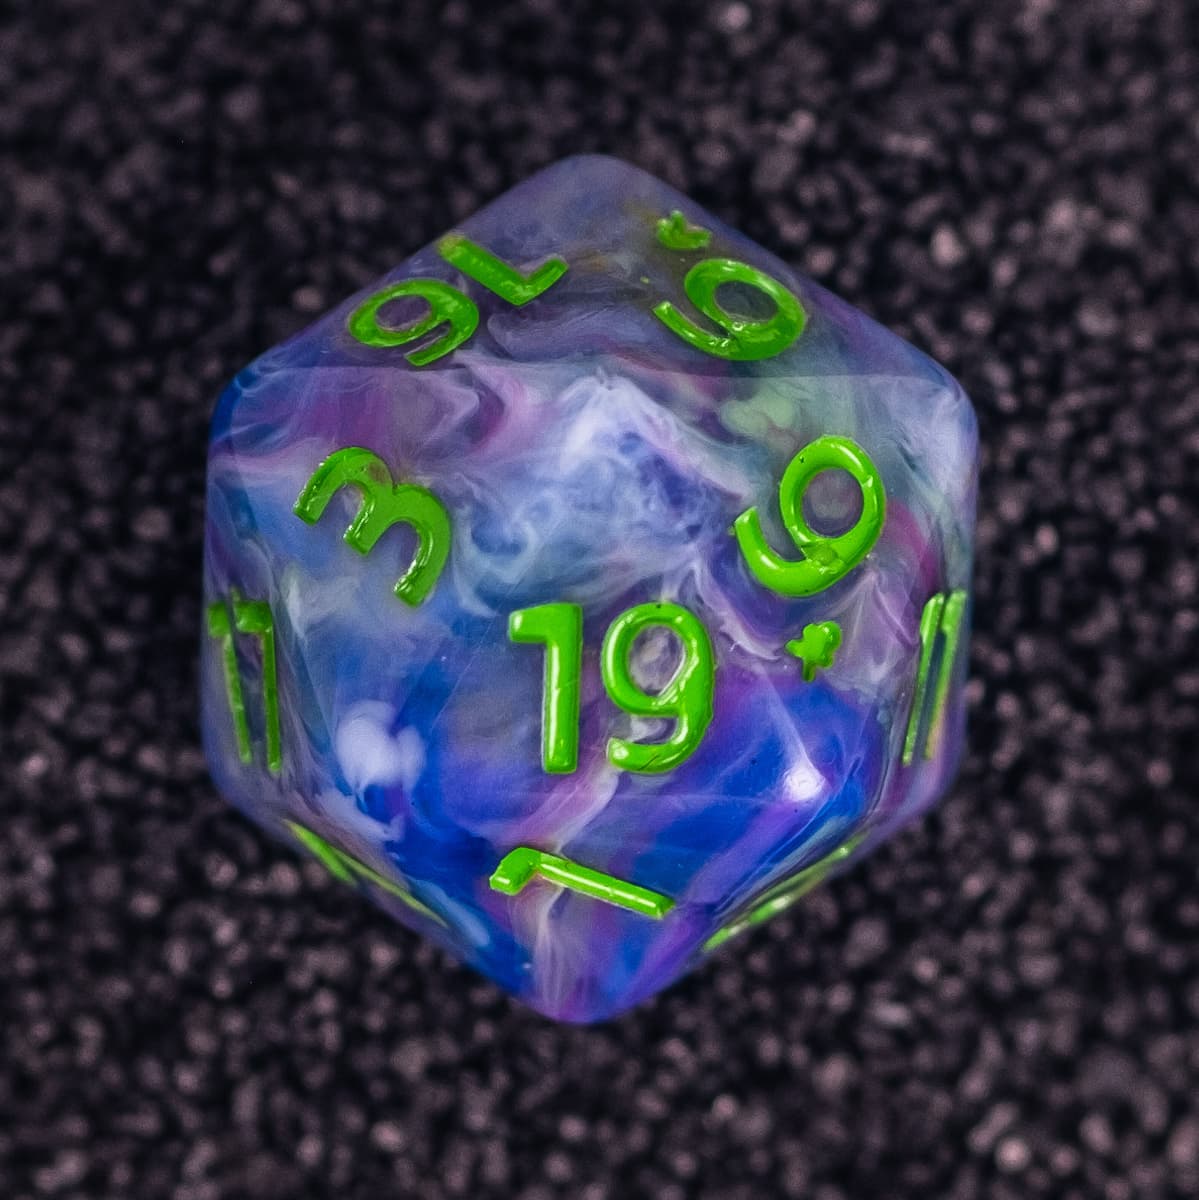
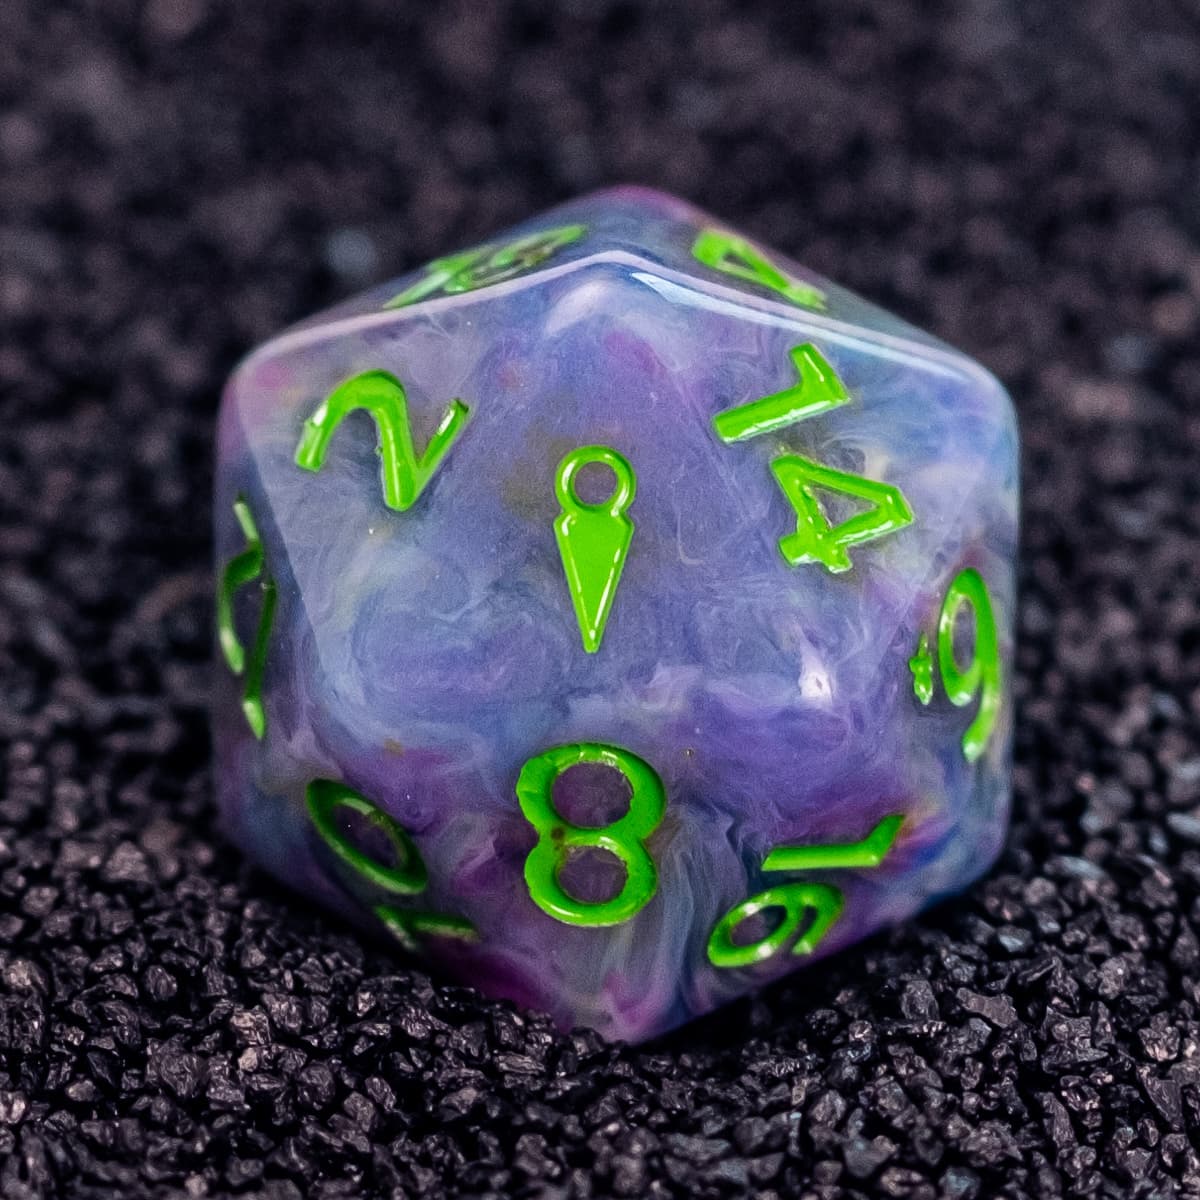
The sanding process is always a step-by-step one, done by increasing the number grit from 500 up to 1500. You can also finish off the dice by using a buffing machine. This increases the shine on the surfaces and a polishing compound. After this is finished, you can paint details into the numbers or symbols of your finished dice. Use the fine paintbrushes to make them stand out more. After they dry your handcrafted dice are completely done.
Not ready to make your own yet? Our Town of Click Clack sets are resin dice cast from molds we designed ourselves.